
Bedroom renovation sequence
Empty HDB Bedroom Vinyl Before Built-In Wardrobe Singapore Guide
An empty room is the best time to agree how floor and cabinet meet.
Inspect the base, choose the flooring system and draw the fitted wardrobe footprint before either trade starts installation.
Plan first
Draw the finished wardrobe footprint on the floor plan
A vacant BTO or resale HDB bedroom allows unobstructed floor measurement and easier substrate inspection. It also creates a tempting assumption: install vinyl everywhere now, then place the built-in wardrobe on top later. That may be wrong for a floating floor. Some systems need room to move and should not be pinned beneath fixed cabinets. The flooring product instructions and carpentry design should determine the detail together.
Ask the carpenter for the exact wardrobe footprint, plinth depth, door swing and location of any side panels. Give that drawing to the flooring installer. Agree whether flooring stops at the cabinet line, runs beneath a permitted detail or uses a separate trim. Decide who measures and signs off the finished edge. A verbal promise of a neat finish is not enough when the cabinet has not yet been fabricated.
Substrate
Inspect the empty base for defects
Remove loose debris and examine old tiles or screed in full daylight. Look for hollow tiles, cracks, raised edges, deep grout, adhesive residue, uneven patches and signs of moisture. An empty room reveals these problems better than one covered by a bed. Ask what tolerance the selected vinyl system requires and whether repair or levelling is necessary before installation.
Do not use a soft underlay to disguise movement or serious unevenness. The base must meet the product's requirements. In a resale flat, check any old wardrobe footprint: the flooring there may be a different height or condition. In a BTO, verify the delivered room rather than assuming the plan dimensions or floor finish exactly match the site. Photograph problem areas for a comparable quotation.
Level and clearance
Measure doors, windows and wardrobe openings
Vinyl and any approved underlay add height. Check the bedroom door, bathroom threshold, sliding tracks and the intended wardrobe base against the finished level. If the bedroom door needs trimming, confirm who does it and whether the finish can be repaired cleanly. At the wardrobe, hinged leaves and low drawers must still clear the floor after installation.
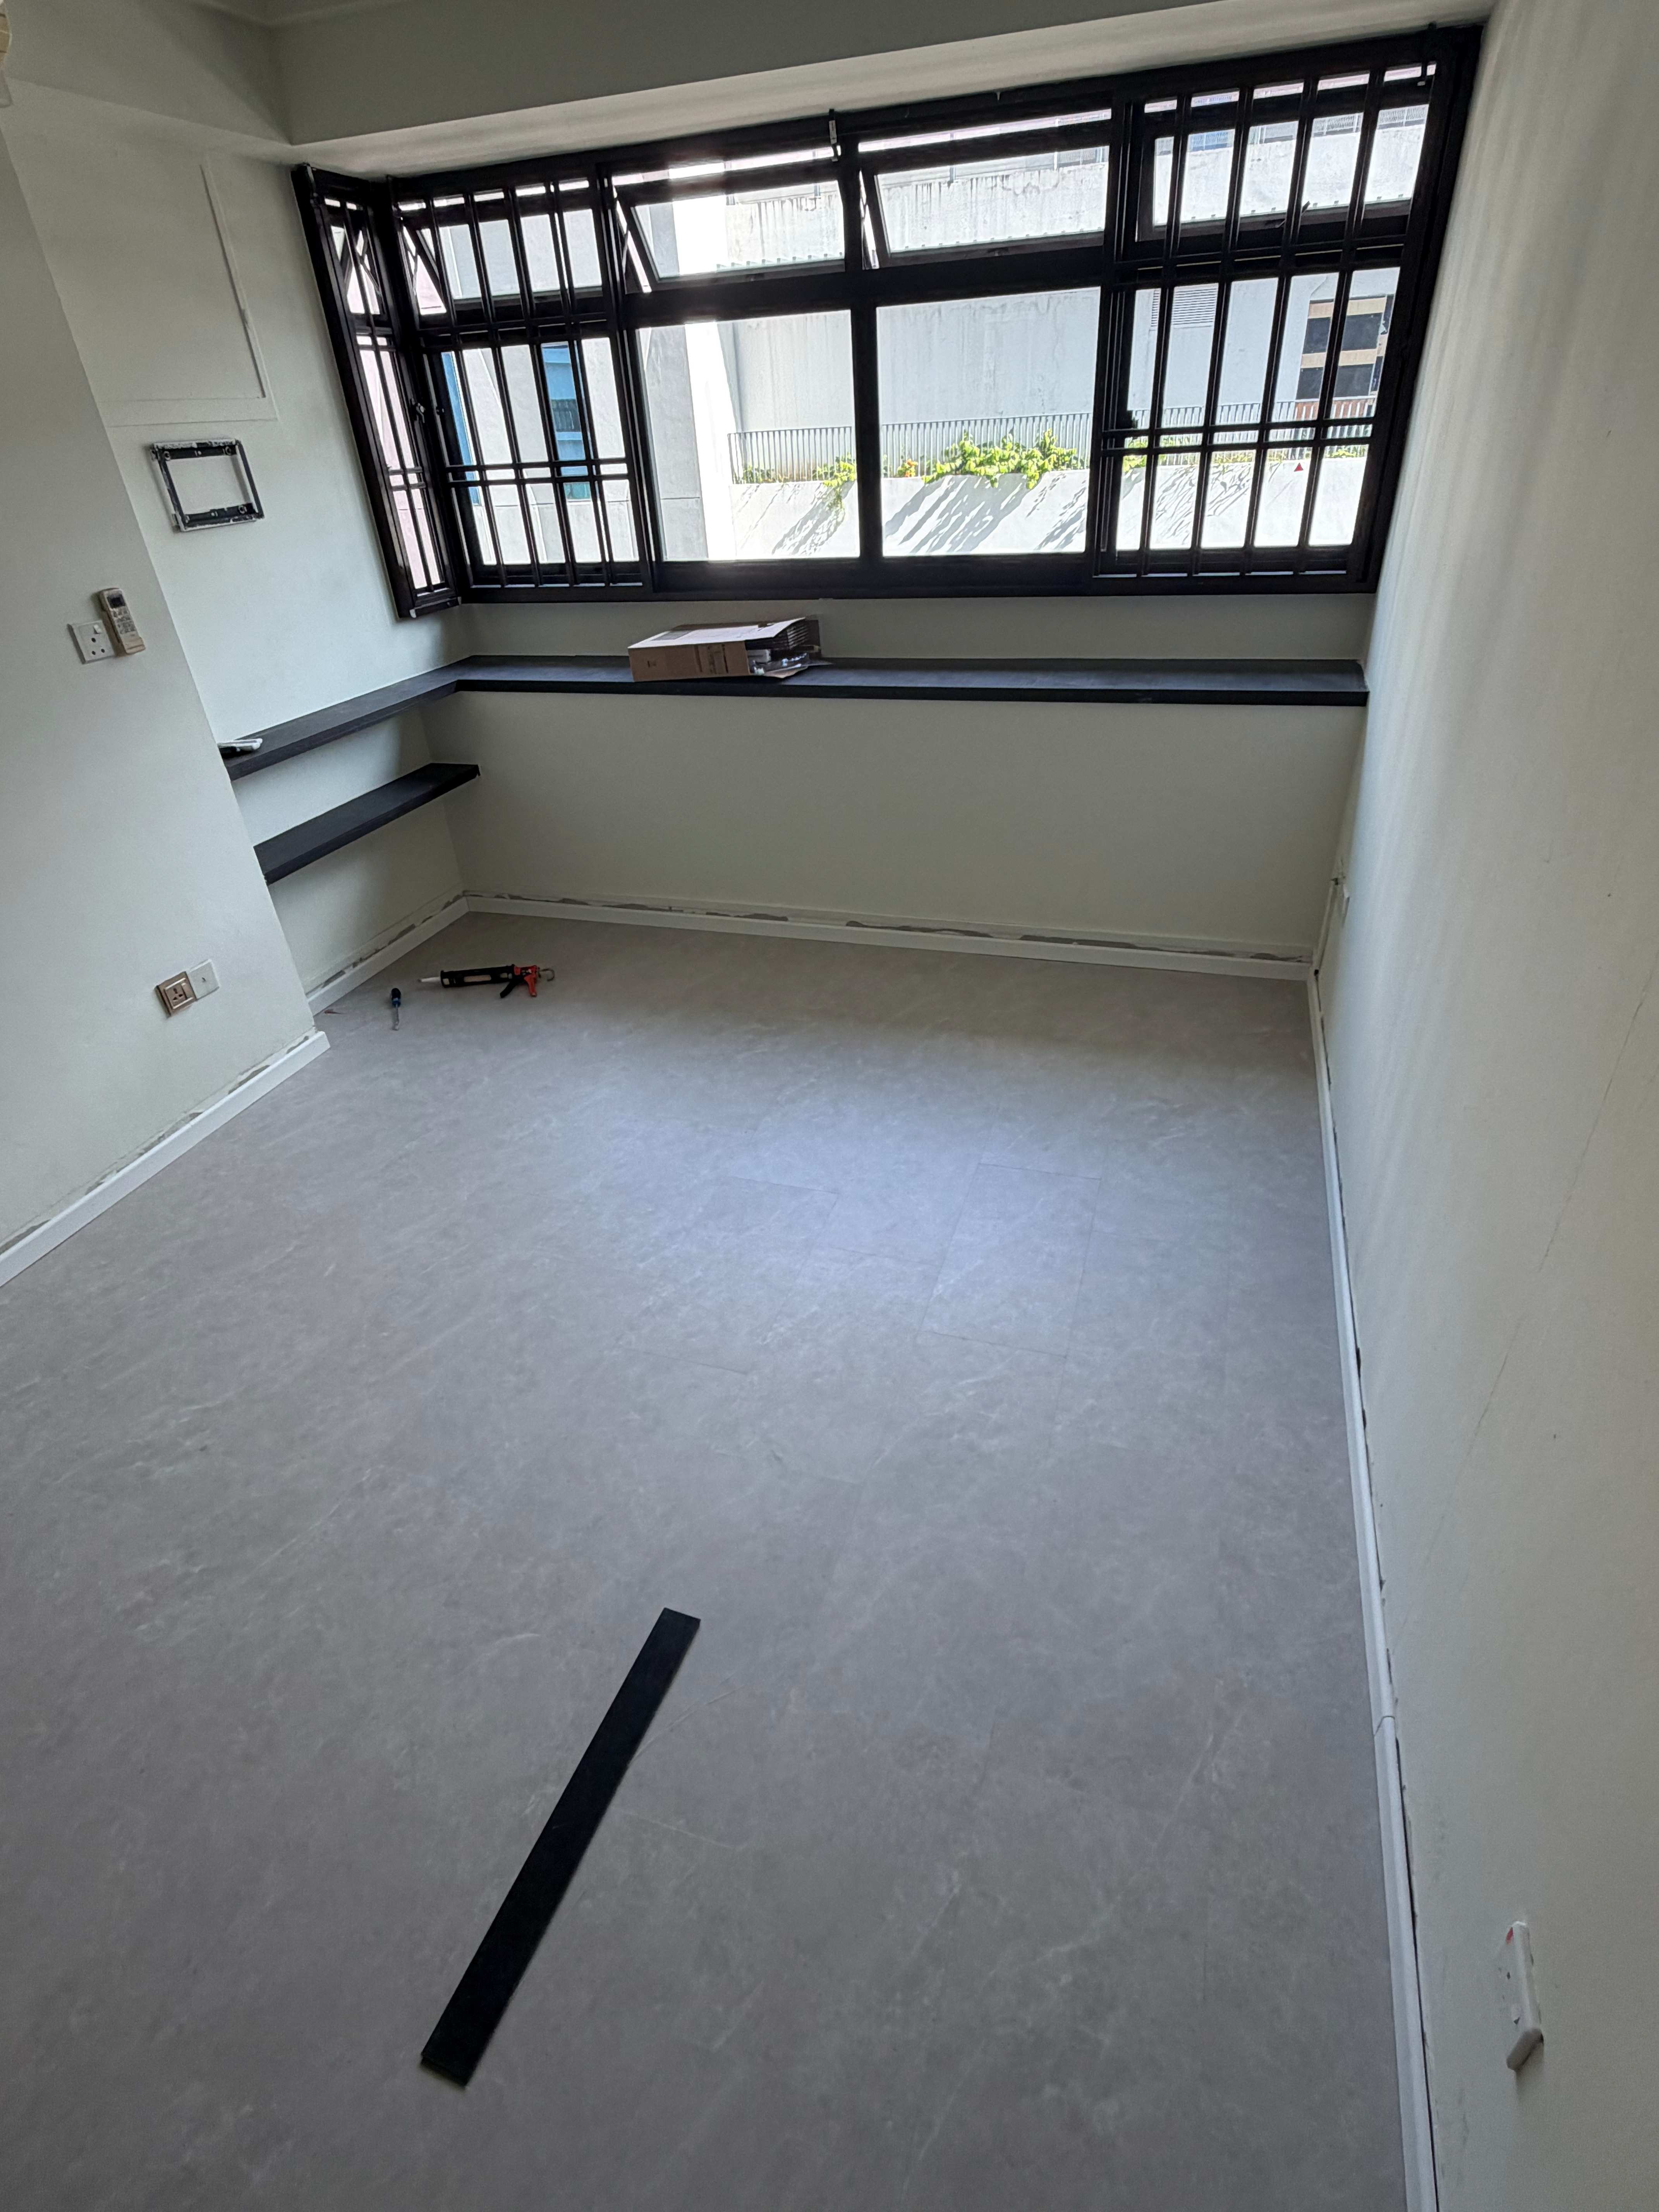
The grey room photograph shows an empty floor beside a large window. In a similar room, check curtain length, window ledge and any built-in seat before fixing the plank direction. Sunlight can change how a grey sample appears. Put a large physical sample near the window and in a darker corner; compare it with the actual wardrobe laminate and wall paint in daylight and at night.
Perimeter
Specify skirting and expansion details early
Existing skirting may stay, be removed or be covered by a compatible finishing profile, depending on its condition and the flooring system. Decide before installation. If skirting is removed, wall touch-up may be needed. If a trim is added, view a sample beside the wardrobe and room door. A narrow room can look untidy when different edge solutions meet at one corner.
Floating systems often require perimeter allowance. The cabinet edge must respect that requirement while remaining visually tidy. Do not assume the carpenter can simply screw through the vinyl or seal every joint hard. Ask both trades to show the proposed section through the floor, trim and plinth. Keep floor transitions serviceable if a plank ever needs replacement.
Site sequence
Protect the floor during carpentry delivery
Complete wet and dusty work before the finished floor where practical. If vinyl is installed before wardrobe delivery, agree suitable temporary protection over the travel route and work area. Heavy panels, tools and ladders can mark a new surface even when installation was perfect. The protection should follow flooring guidance, not trap moisture against a freshly installed floor.
Confirm when the room can be walked on and when heavy items may be placed, using the actual product and adhesive instructions if applicable. Check lift booking and delivery hours in a condo or managed estate. A carpenter's production lead time may be weeks, while the flooring team's site time can be shorter; do not book both for the same day without a coordinated plan.
Cost and alternatives
Compare complete scope, not just room area
The quote should separate flooring material, preparation, levelling, skirting or trim, door work, disposal and protection. A small bedroom can have a higher effective cost per square foot if edges and preparation dominate. Ask whether the area under the future wardrobe is included and why. Compare installers on the same plan and product specification rather than the lowest headline rate.
Vinyl may be unsuitable if the base remains damp or unstable, if required height cannot be accommodated, or if the selected floating system conflicts with fixed carpentry. Tiles or another finish may better suit a particular site. If the wardrobe already exists, the plan changes again: removing it to achieve a continuous floor can add cost and wall repair. Resolve the sequence before paying for either trade.
FAQ and quote checklist
Give both contractors the same drawing
Should the wardrobe sit on new vinyl? Not as a blanket rule; follow the chosen system and cabinet design. Is an empty room automatically ready for overlay? No, inspect the substrate. Can the floor colour be chosen from a phone photo? Physical samples in the actual light are more reliable. Does grey hide every mark? No; cleaning needs depend on tone, texture and use.
Send the HDB floor plan, room measurements, wide and close floor photos, wardrobe drawing, door and window positions, skirting details, flooring sample code and both contractors' proposed dates. State whether the flat is BTO or resale. WhatsApp Glee Flooring at +65 8742 6767 for a bedroom flooring quotation and a clear floor-to-cabinet edge plan.