
Is vinyl suitable for a home office?
Suitability depends on the product, substrate, chair use, furniture and maintenance. Check the actual specification.
Home office flooring guide
Plan the floor around daily desk-chair movement, built-in carpentry, cables and room lighting.
A study room may look simple when empty, but equipment and furniture change how the flooring is used.
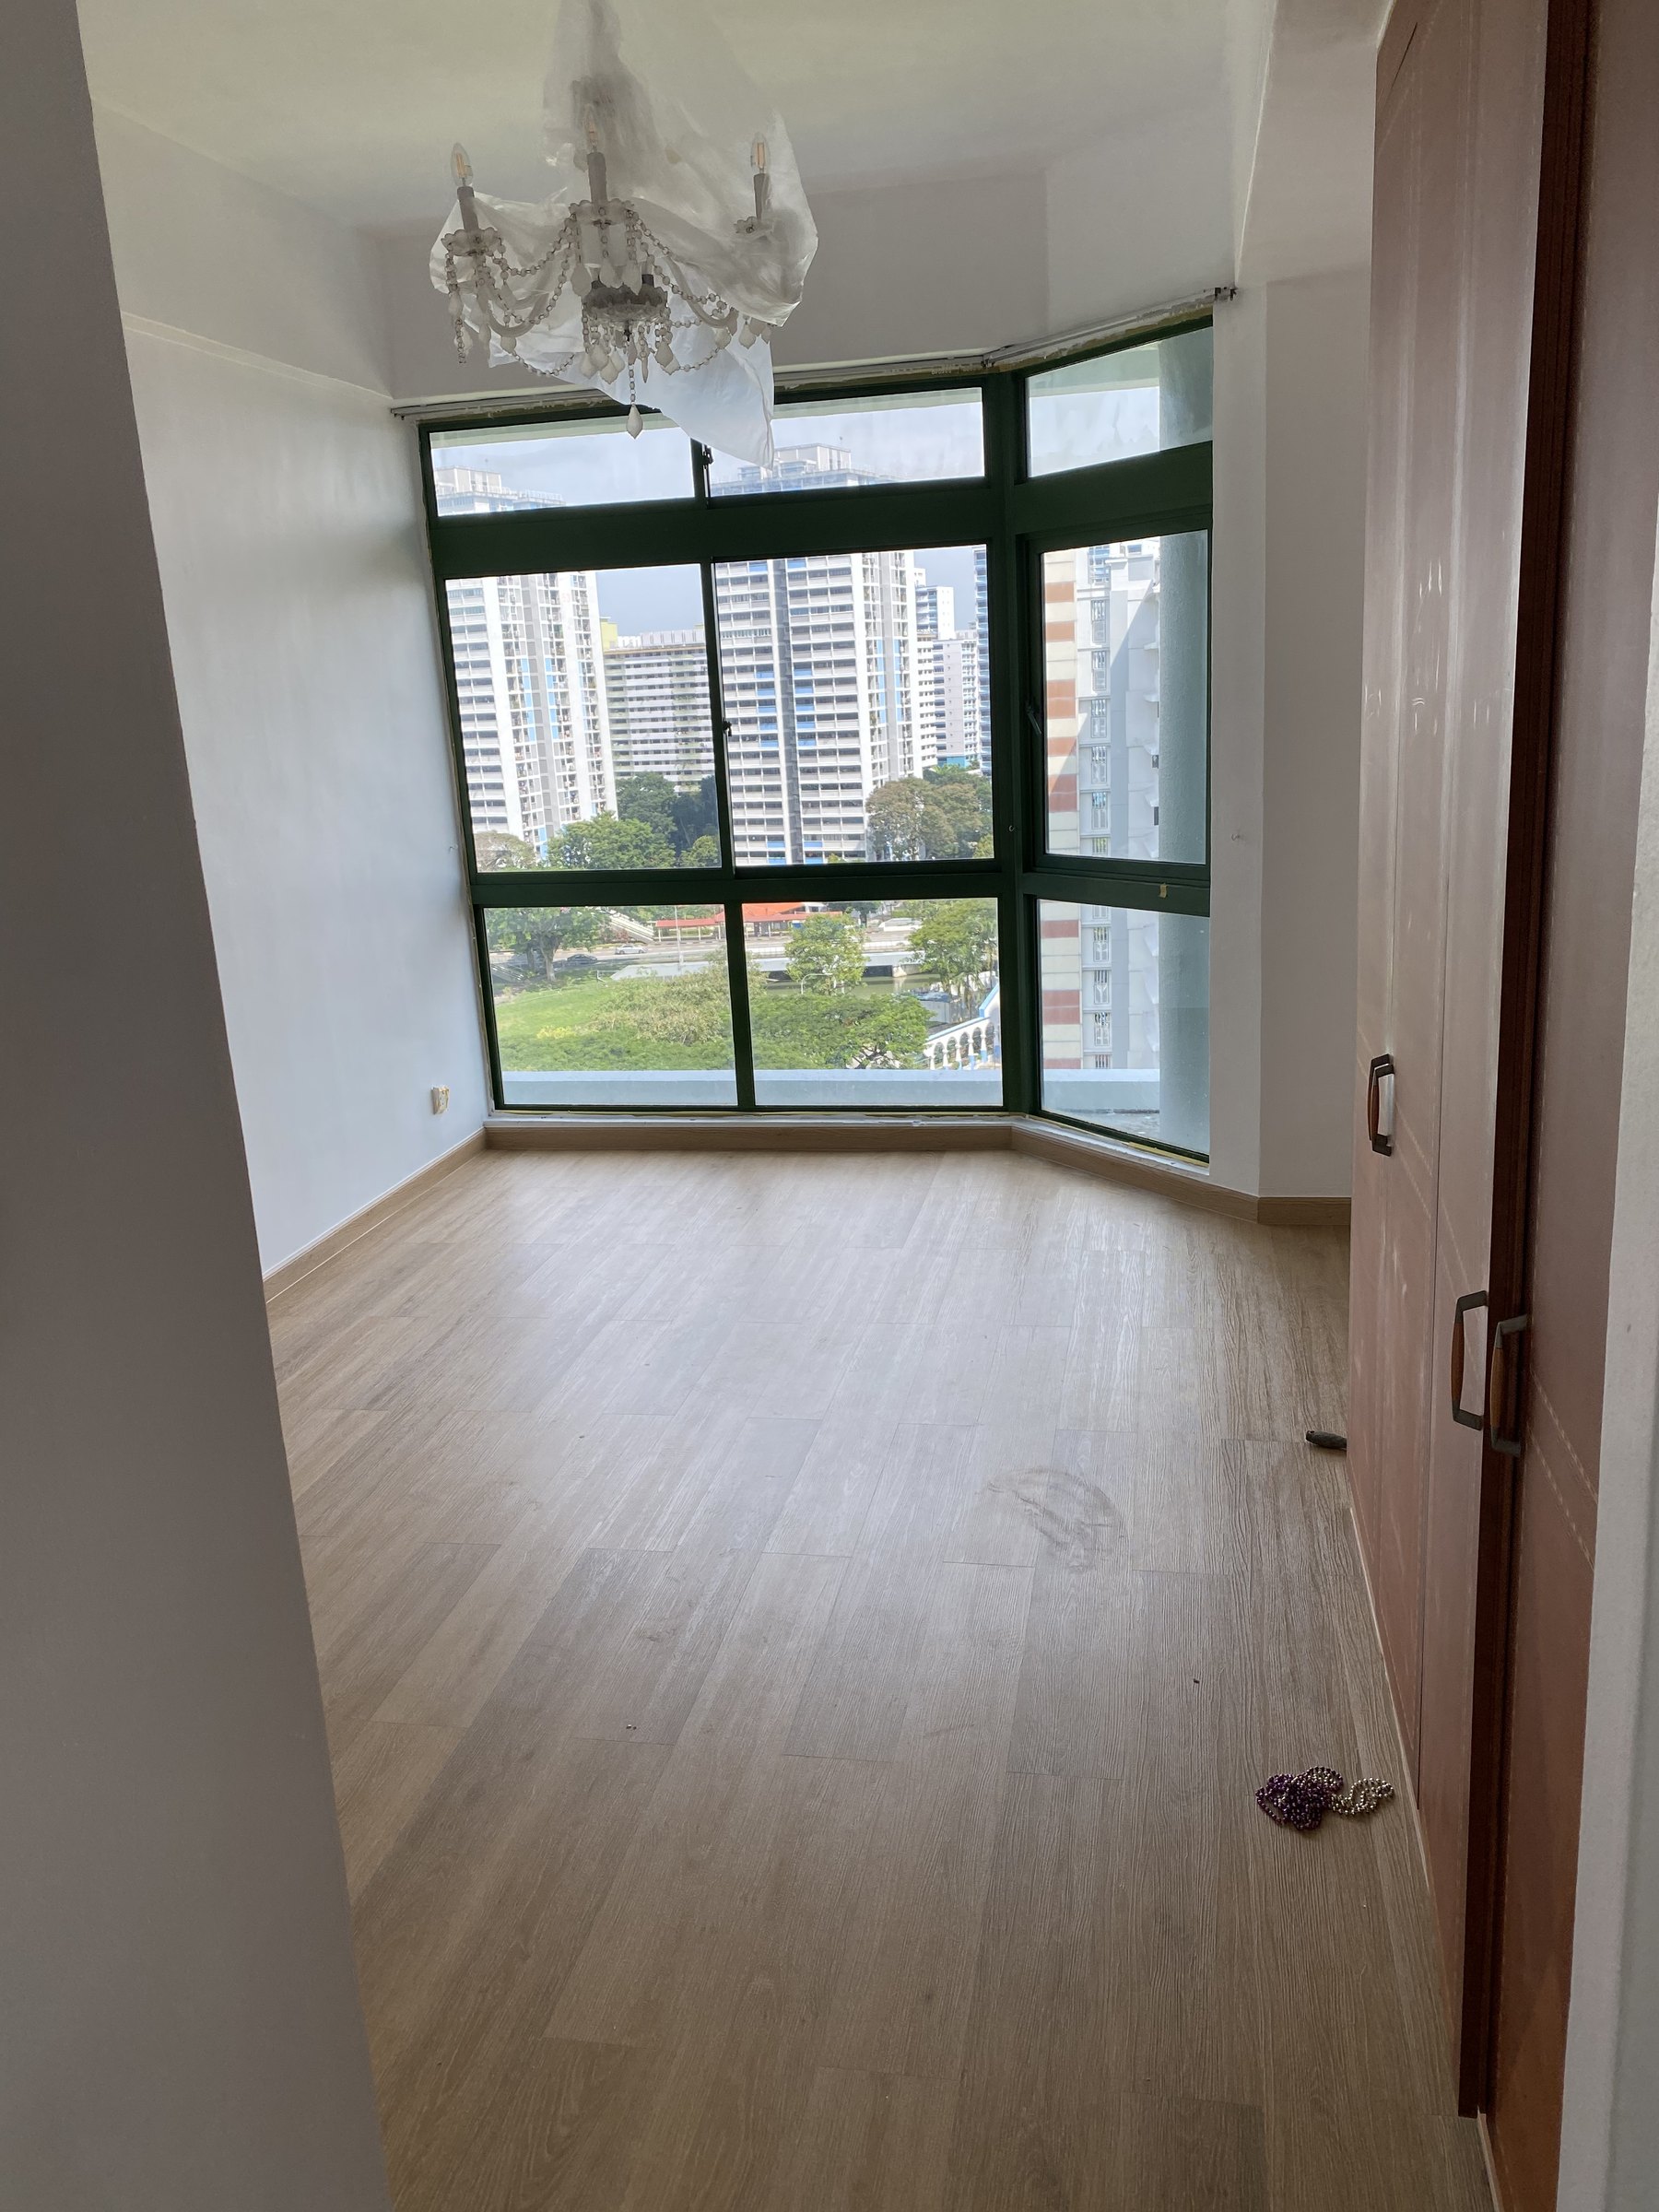
Room use
A home office can be a dedicated HDB room, a bedroom study corner or a shared family workspace. List the desks, users, monitors, printers, storage and chair types before selecting the floor. A lightly used laptop desk has different demands from a full-time workstation with a rolling chair and heavy filing cabinets.
Mark the chair movement zone, walking route and doors that open into the room. Decide whether the study may later return to bedroom use. A neutral floor and continuous transition can preserve flexibility, while a strong office-only finish may be harder to coordinate with future beds and wardrobes. The proposed product should be reviewed for the actual residential use.
Desk chairs
Rolling desk chairs apply repeated movement over a small area. Ask the supplier how the selected flooring should be protected and whether the chair wheels are suitable. A compatible chair mat or alternative casters may be worth discussing, but follow flooring and furniture guidance. Do not assume that overall plank thickness alone predicts resistance to every wheel or load.
Heavy desks, shelving and filing cabinets also concentrate weight. Install furniture carefully and avoid dragging it across the completed floor. Use suitable protectors where recommended. If a sit-stand desk or equipment rack is planned, provide its approximate weight and footprint. The quotation should state whether existing furniture will be moved or the room must be cleared.
Subfloor
A rolling chair can make uneven areas more noticeable, while tall shelves and cabinets need stable placement. Existing tiles, screed or old flooring should be assessed for movement, cracks, moisture and level differences. Overlay may be possible when the substrate is stable, dry, sufficiently level and compatible with the selected system.
Do not use a busy grain to hide a physical defect. Preparation should be discussed before installation, especially where old wardrobes or platforms have been removed. Photograph the whole empty floor and close-ups of grout lines, patched areas and transitions. Read the cement screed and levelling guide for useful questions.
Carpentry sequence
Whether vinyl runs beneath a built-in desk or finishes at the cabinet base depends on the flooring system, furniture design and agreed sequence. Share both specifications before work starts. Fixed cabinets should not be placed over a floor contrary to product requirements, and visible edges should not be left for the final installer to improvise.
If flooring is installed first, protect it during cabinet delivery and drilling. If carpentry comes first, confirm how skirting and exposed edges meet the furniture. Socket relocation, cable openings and wall repair should happen before the finished floor where practical. Use the flooring and carpentry sequence guide to plan the trades.
Colour and light
Light grey or natural wood can brighten a compact study room, while darker flooring may ground white desks and cabinets. The result depends on window direction, wall colour and evening lighting. Place physical samples flat near the window, under the desk area and in the darkest corner. Phone photos and catalogue images may shift undertones.
Strong daylight can create screen glare and also reveal surface variation or dust. A very pale floor may blend with white skirting, while dark uniform finishes may show light lint. Moderate grain can be practical, but maintenance depends on the product and household. Compare the floor with any wardrobe laminate because the study room may serve more than one purpose.
Cables and access
Plan sockets, data points and cable management with the furniture layout. Loose extension leads across the floor create clutter and can interfere with chair movement. Route cables through the desk or wall system where appropriate and keep service access available. Floor installation should not cover outlets or access points that another trade needs.
Printers, shredders and computer towers need practical positions that can be cleaned around. Avoid trapping equipment tightly between furniture and skirting. If floor boxes or special cable routes are proposed, coordinate them before installation. A clear layout protects the finished floor from repeated lifting and dragging when equipment changes.
Door and transitions
Overlay raises the finished floor. Check the room door, wardrobe doors, corridor transition and any retained floor outside. Door adjustment may be separate from the flooring scope. A poorly planned strip at the entrance can interrupt chair or trolley movement and make an otherwise simple study room feel unfinished.
If the same vinyl continues into the corridor or bedrooms, agree on plank direction and threshold details. Continuous colour can make a compact home feel connected, while a separate room colour may suit a distinct workspace. Review the plank direction guide before confirming the installation plan.
Cost and timing
Cost depends on measured area, product, wastage, substrate preparation, skirting, trims, door work, furniture movement and access. A single small room can have a higher effective cost if it requires a separate visit or detailed preparation. Ask whether the quotation assumes an empty room and whether removal of old flooring is included.
Schedule flooring after wet and dusty work where practical. Confirm when the room must be cleared, how long preparation and installation may take, and when furniture can return under product guidance. Coordinate internet equipment and work-from-home needs so the household has a realistic alternative workspace during the work.
Quote checklist
Send the floor plan, wide room photos, current floor close-ups, door threshold, skirting, built-in furniture layout, desk and chair types, heavy equipment, preferred colour and renovation schedule. State whether the room is empty, occupied or changing from a bedroom.
Glee Flooring can then discuss product options, overlay suitability, preparation, edges and installation sequence. The final quotation should identify the product, preparation, skirting, trims and exclusions. WhatsApp +65 8742 6767 with the plan and photos for a project-specific quotation.
FAQ
Suitability depends on the product, substrate, chair use, furniture and maintenance. Check the actual specification.
The sequence depends on the flooring system and desk design. Coordinate both teams before installation.
Send the floor plan, floor and threshold photos, furniture layout, chair type, colour and schedule.
Send the room plan, floor photos and furniture layout for a practical quote.